Last Updated: January 15, 2026
🚀 A Beginner’s Guide to Cloudflare: Securing Your Domain Before It’s Live
Ready to launch your website but want to get a head start on security and performance? This guide will show you how to sign up for a free Cloudflare account, add your domain, and set up your DNS—all before your site is even active!
Why Cloudflare is a Must-Have (Even for an Inactive Domain)
Setting up Cloudflare for a new or inactive domain is a smart move for any site owner. It’s all about preparation and optimization. By getting your DNS configured early, you ensure that the moment your site goes live, it’s already protected and running at peak performance. Here’s what you gain:
DNS Management: A user-friendly dashboard to manage all your DNS records in one place.
Enhanced Security: Free DDoS protection and a Web Application Firewall (WAF) to block malicious traffic from day one.
Global Performance: A Content Delivery Network (CDN) that caches your site’s content globally, so visitors experience lightning-fast load times.
Free Universal SSL: Automatic SSL certificate installation to secure your site with HTTPS, which is crucial for SEO and user trust.
Step 1: Sign Up for Your Free Cloudflare Account
Creating an account is a breeze.
Navigate to the Cloudflare sign-up page.
Enter your email and create a strong password. This will be your primary login.
Click “Create Account”.
Check your inbox for a verification email and click the link to confirm your account. You’ll be directed to the Cloudflare dashboard.
15 Best AI Image Detector Tools in 2025 (With URLs)
Step 2: Add Your Domain to Cloudflare
Now, let’s connect your domain to the Cloudflare dashboard.
From the dashboard, click the “Add a Site” button.
Enter your domain name (e.g., yourdomain.com). Be sure to use the apex domain, not a subdomain like www.
Click “Add site”.
Cloudflare will present various plans. Simply select the Free plan and click “Continue”. It provides all the essential features you need to start.
Step 3: Review and Add DNS Records
This is the most critical step for an inactive domain. Cloudflare will scan for existing DNS records, but since your domain isn’t live, the list might be empty. That’s perfectly normal!
You need to manually add the DNS records that your web host provides. This pre-configures everything for a seamless launch. The most common records are:
A record: Points your domain to an IP address. You’ll need one for both your main domain (@) and the www subdomain. Your hosting provider will give you this IP.
CNAME record: Creates an alias for a subdomain. Useful if you’re pointing a blog or a separate service to a different URL.
MX record: Essential for email functionality. This record directs your domain’s email to the correct mail server.
To add a record, click the “+ Add record” button and fill in the details provided by your host. For A and CNAME records, make sure the Proxy status (the orange cloud ⚡️) is enabled. For MX records (and other non-HTTP/S traffic), the proxy must be disabled (the gray cloud).
Step 4: Update Your Domain Nameservers
This final step tells the internet to direct all traffic for your domain through Cloudflare.
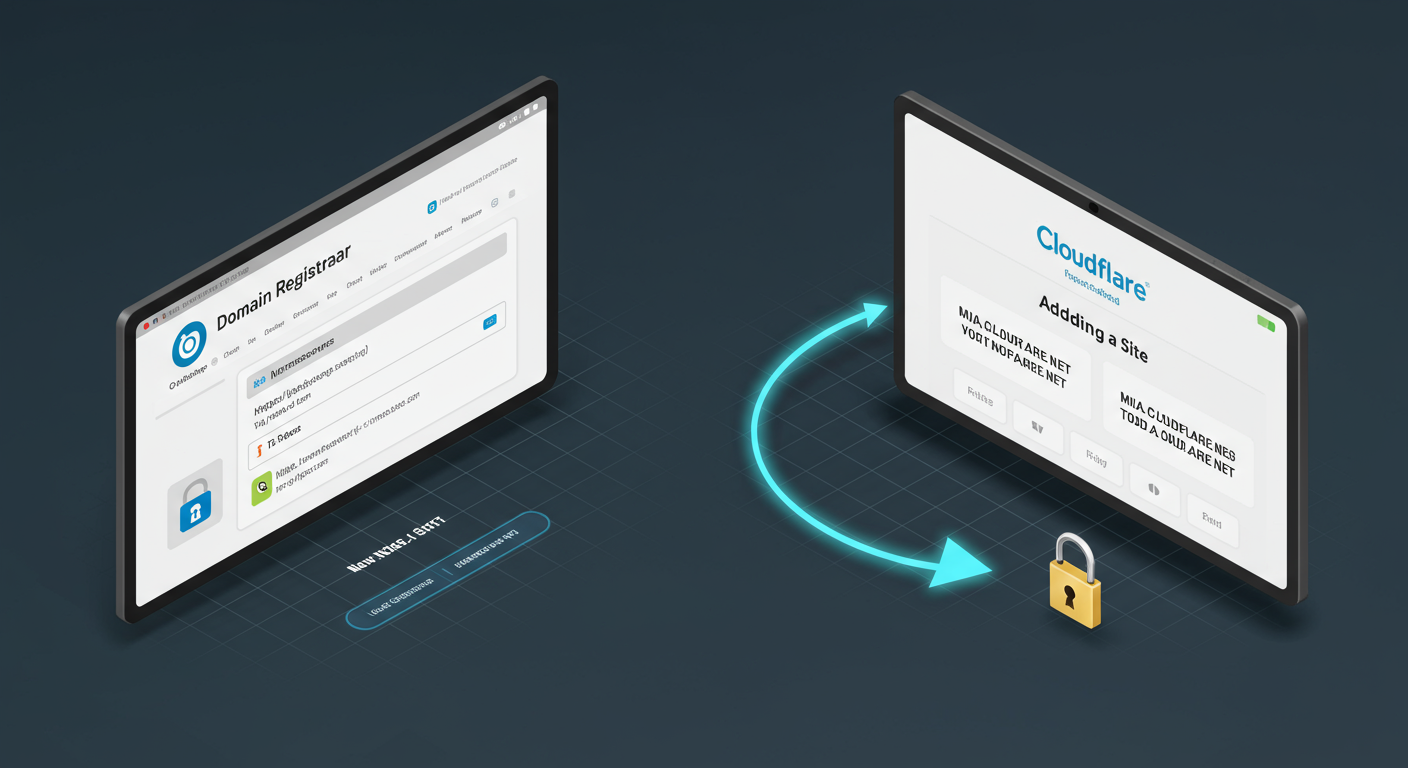
After adding your DNS records, Cloudflare will display two unique nameserver addresses. They’ll look something like [nameserver1.cloudflare.com] and [nameserver2.cloudflare.com].
Log in to your domain registrar (e.g., GoDaddy, Namecheap).
Find the nameserver settings for your domain. This is often in the “DNS Management” or “Domain Settings” section.
Replace your registrar’s default nameservers with the two Cloudflare nameservers.
Save the changes.
Important: Nameserver changes can take anywhere from a few hours to 48 hours to fully propagate across the internet. During this time, your domain’s status on Cloudflare will show as “Pending”. This is a normal part of the process, so be patient.
You’re All Set!
Once the nameserver changes are complete, your Cloudflare status will turn to “Active.” Congratulations! You’ve successfully connected your domain to Cloudflare for free, laying the groundwork for a secure and high-performance website launch. By taking this proactive step, you’re ensuring your site is ready for the world.